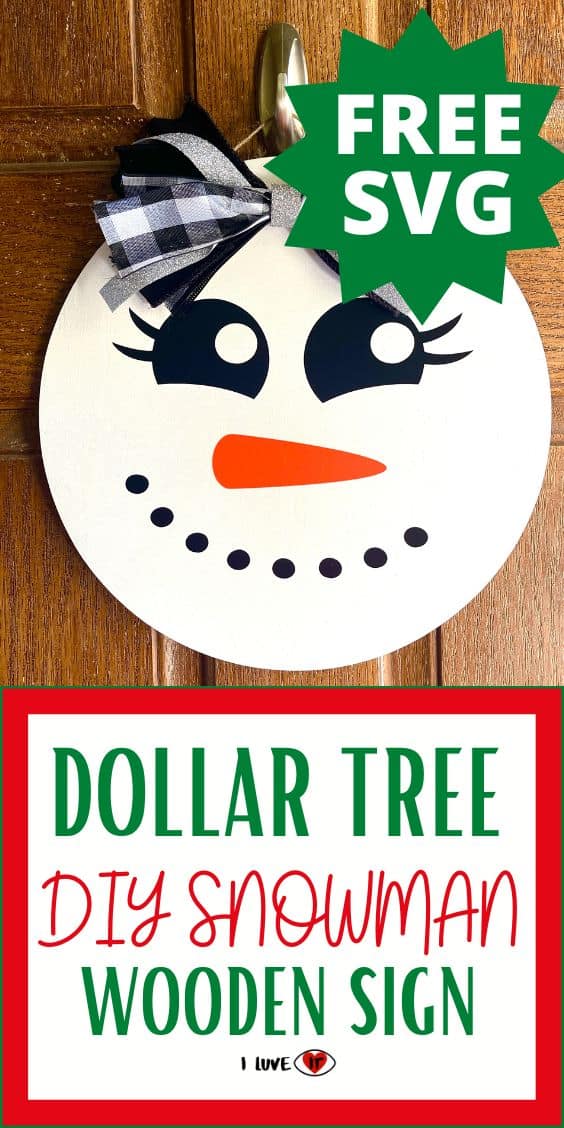
Looking for cute Snowman crafts? Dress up your front door with an adorable easy to make Dollar Tree DIY Snowman Wooden Sign. This easy to make door hanger is the perfect Christmas craft to make this year. Whether you want to display it indoors or outdoors as a Snowman wreath along with your other Christmas Decorations, or give out as Christmas gifts. You will have so much fun making this wood Snowman sign that is just too cute for words. Also don’t forget to download your FREE Snowman SVG file.
How To Make a DIY Snowman Wooden Sign
Frosty the snowman is an iconic Christmas movie many of us watch every year. So, if you love that movie as much as my family and I do, you probably would love to make this DIY Snowman Wooden Sign. This is the perfect snowman craft to make with your family, and add to your other snowman decorations.
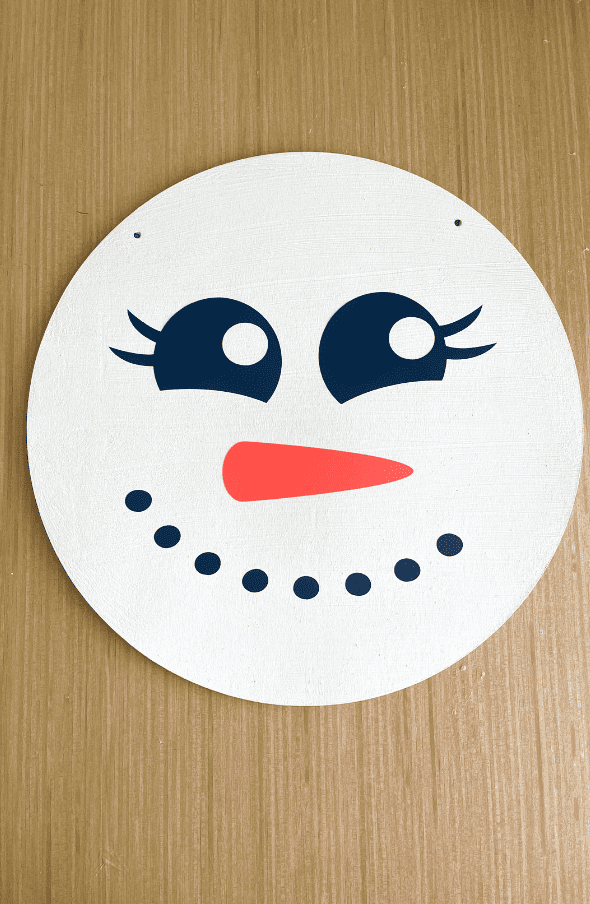
Decorating your home with Snowmen is a fun way to celebrate the Christmas season. With this project, you start with a Dollar Tree wood round and then add all your other creative embellishments. For this particular snowman, I opted to do a girl snowman as I thought the eyelashes were so cute.
And I must admit she is so adorable and looks great on my front door. Be sure to check out the ‘Joy To The World’ Sign I did last week. So, gather all your supplies, and let’s get crafty on a budget together!
YOU MAY ALSO LIKE:
Easy To Make Dollar Tree DIY Christmas Wood Sign
Cheap and Easy Dollar Tree DIY Grinch Christmas Decorations
Materials you’ll need:
- Cricut Machine
- Wood round 12″
- Cricut Mat
- Permanent Black and Orange Vinyl
- White Paint
- Pipe cleaner
- Vinyl Transfer Tape
- Hot glue and glue gun
- Buffalo Plaid Black and white Ribbon
- Black Ribbon
- Silver Ribbon
Instructions:
Paint the Wood Round
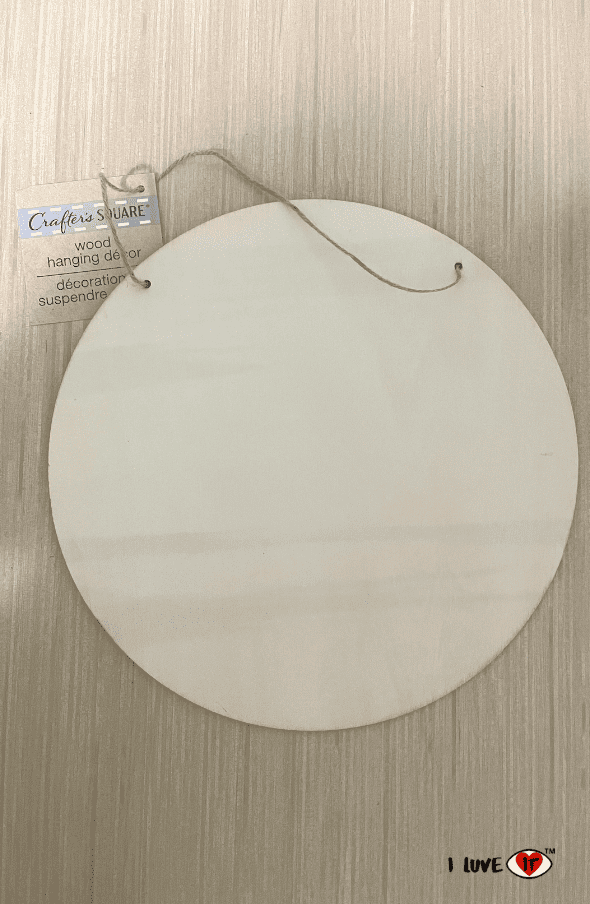
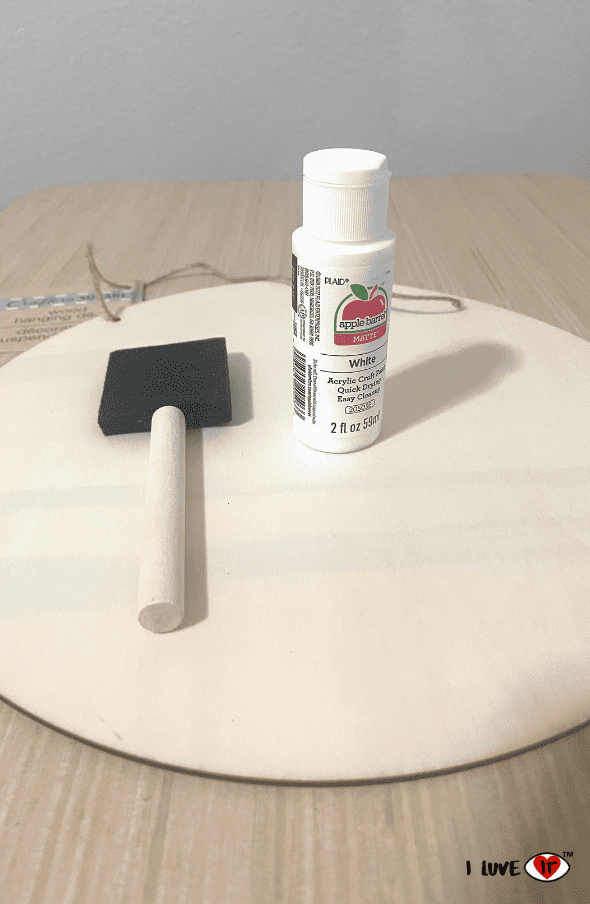
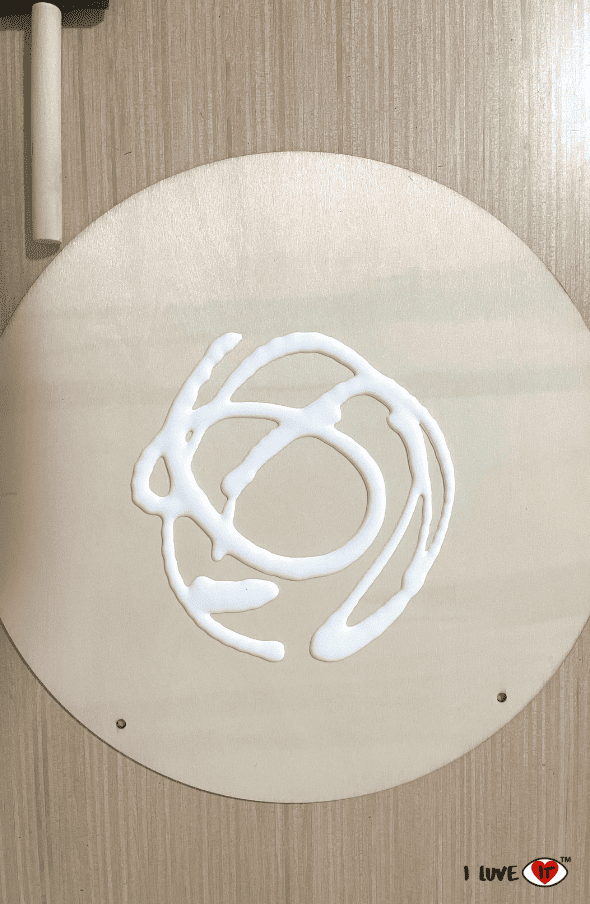
Remove the twine from the wood round and paint it with white matte paint. I used about 3 coats of paint, and then allow it dry.
Apply the Vinyl
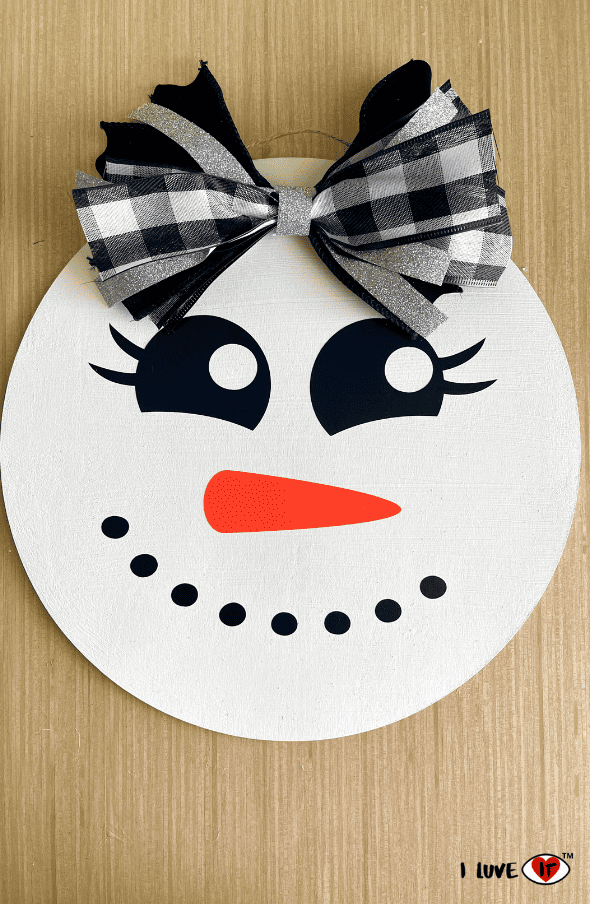
Download the FREE Snowman SVG file here. Upload the file to Cricut Design Space. Use your Cricut machine to cut the permanent black and orange vinyl, and then attach it to your wood round using transfer tape.
Make a Bow
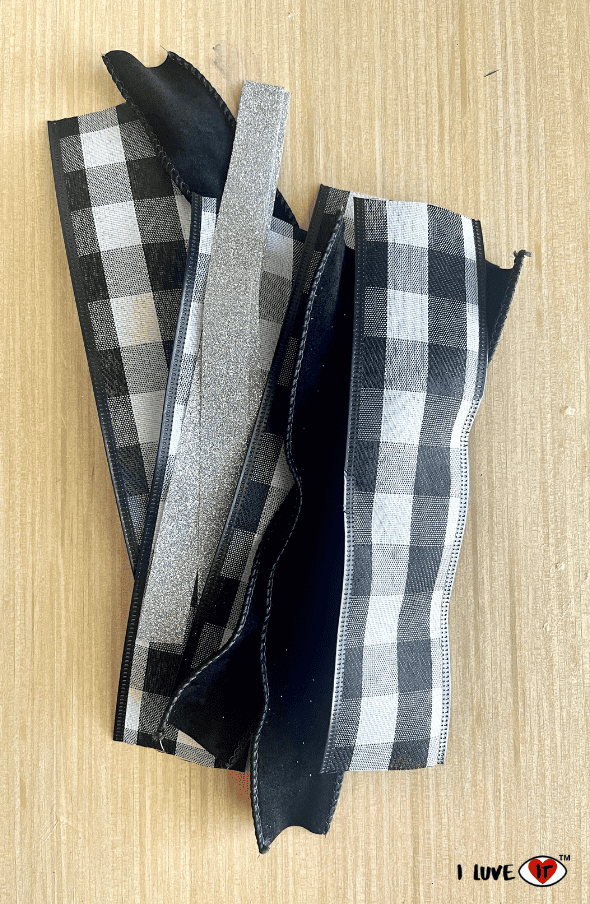
What better way to finish off this cute girl snowman than with an adorable bow. To create this bow, I measured each piece of ribbon at 8 inches.
I cut 4 pieces of black and white buffalo plaid ribbon and 3 pieces of black ribbon. Next cut 4 pieces of silver ribbon. The fourth piece will be used to wrap around the center.
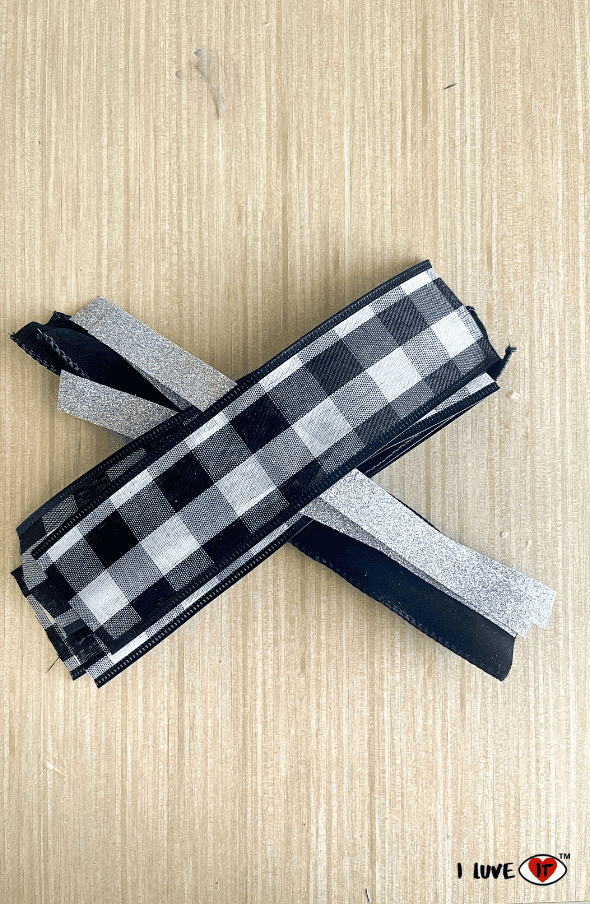
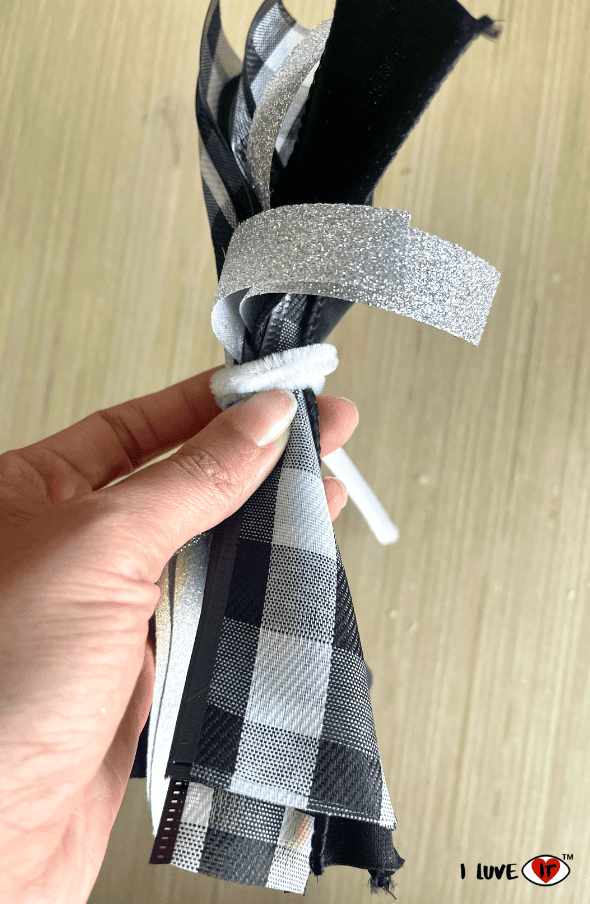
I usually like to cut dovetails on the end, but I decided not to do that for this bow. Next take each piece of ribbon and criss cross them one over the other in the order you would like.
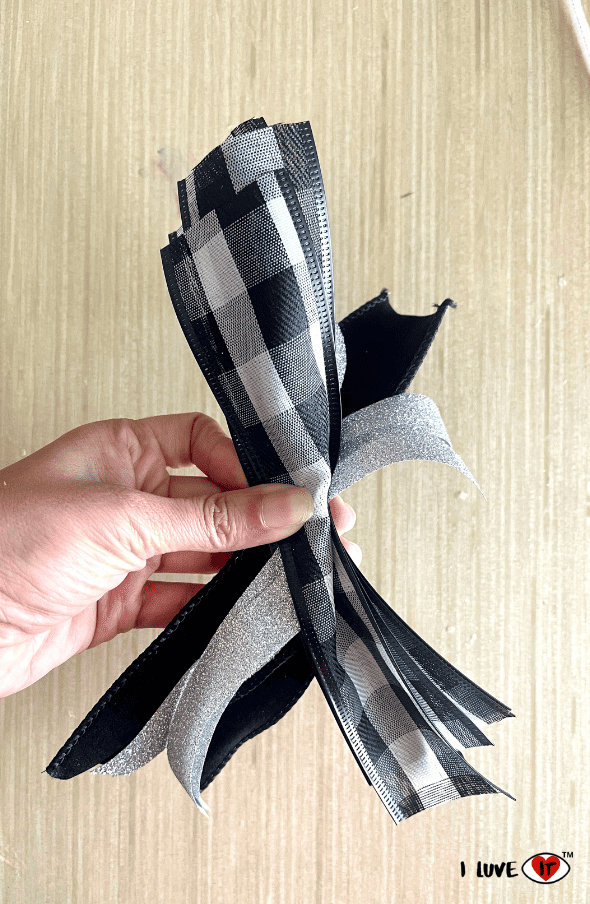
Pinch the ribbon in the middle and wrap a white pipe cleaner around the center. Take one piece of silver ribbon and hot glue it around the pipe cleaner. Trim your ribbon as needed. Attach the bow to the center with hot glue.
Hang Your Wood Round
Reattach the twine and hang your adorable DIY Snowman Wooden Sign on your front door. You can also display it indoors with your Christmas decorations if you would like, or give it away as a Christmas gift.
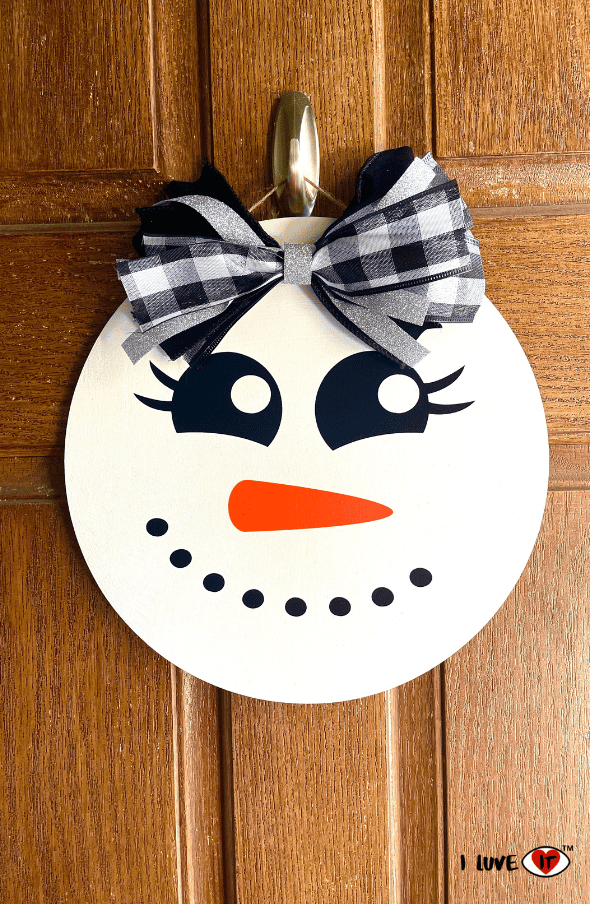
When making snowman crafts, be sure to add this DIY project to the list. Not only is this so cute, but it was also super cheap and easy to make. That’s a win-win in my book!
Dollar Tree has started putting out the cutest Christmas decorations, so make sure you get to your local Dollar Tree soon, before all the good stuff is gone.
Dollar Tree is the perfect place to find Christmas craft supplies to embellish your Snowman Wood Sign. When I recently went ton my local Dollar Tree, they didn’t have the black and white buffalo plaid ribbon, but I was able to find some at Walmart for cheap to make this bow. Okay, now it’s time for you to make your very own Dollar Tree DIY Snowman Wooden Sign that will put a smile soon everyone’s face as the walk by!

