
Craft your own adorable easy to make DIY Easter Door Hanger with ease for your front door using Dollar Tree supplies. This easy DIY wreath project brings a touch of springtime joy to your doorstep. Discover simple steps and affordable materials to create a festive Easter decoration that welcomes the season in style.
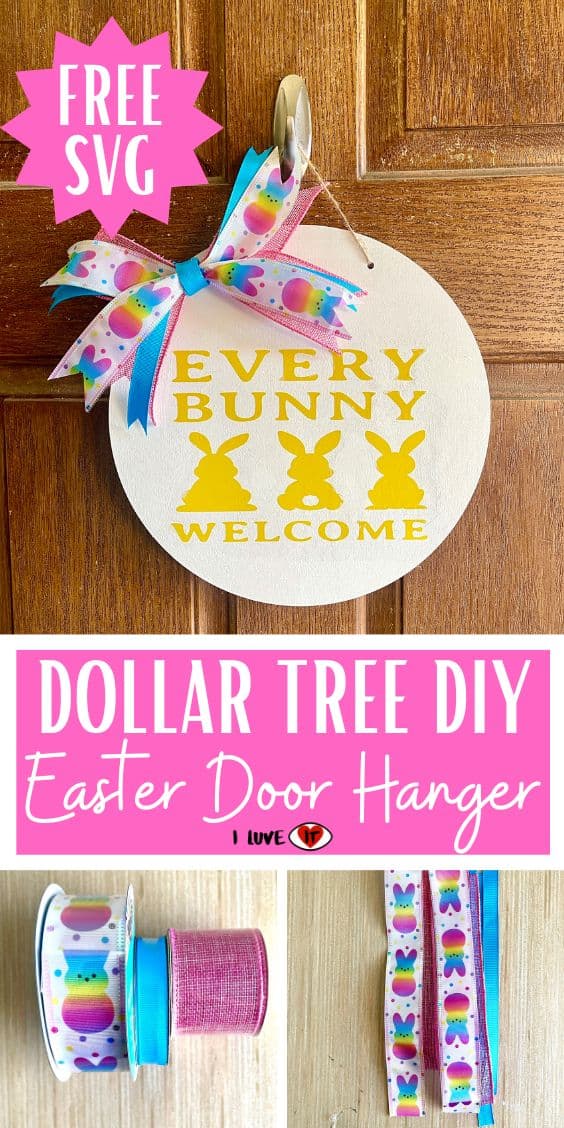
How To Make an Easter Door Hanger
Materials you’ll need:
- Cricut Machine
- Wood round 12″
- Cricut Mat
- Permanent Yellow Vinyl
- White Paint
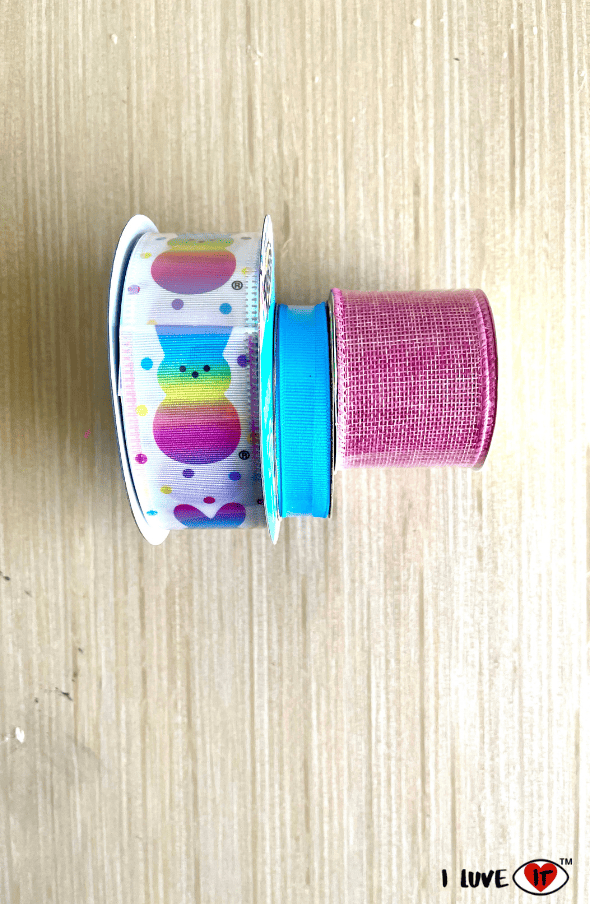
- Peep Ribbon
- Pink Burlap Ribbon
- Blue Ribbon
- Paint Brush
- Vinyl Transfer Tape
- Hot glue and glue gun
Instructions:
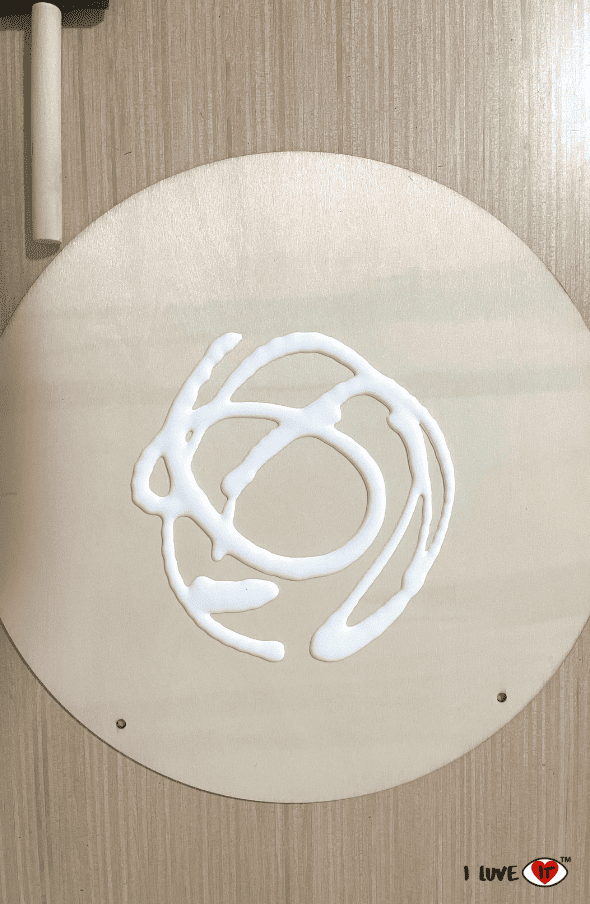
Paint the Wood Round
Remove the twine from the wood round and paint it with white paint. I used about 2 coats of paint, and then allow it dry.

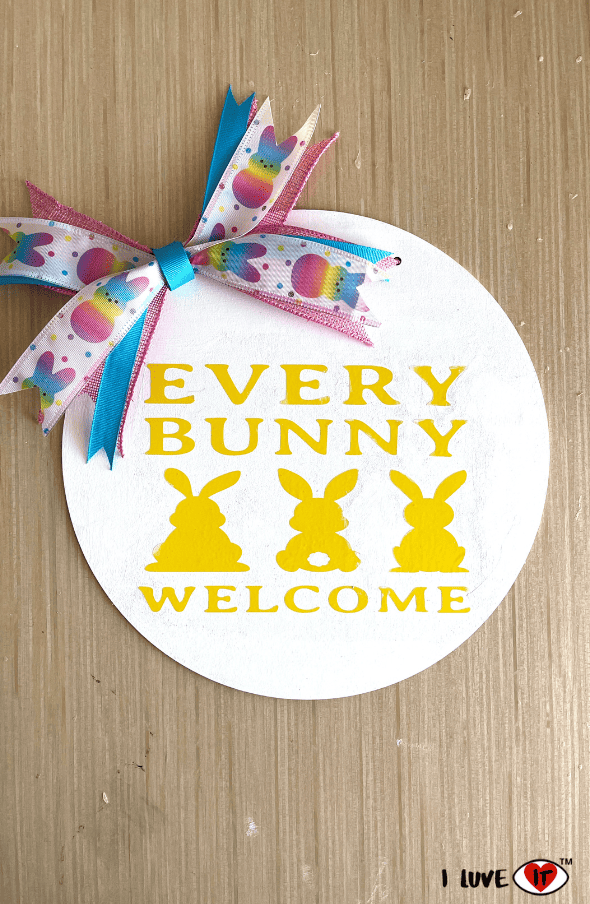
Apply the Vinyl
Download the FREE SVG file here. Upload the file to Cricut Design Space. Use your Cricut machine to cut the permanent yellow vinyl, and then attach it to your wood round using transfer tape.
Make a Bow
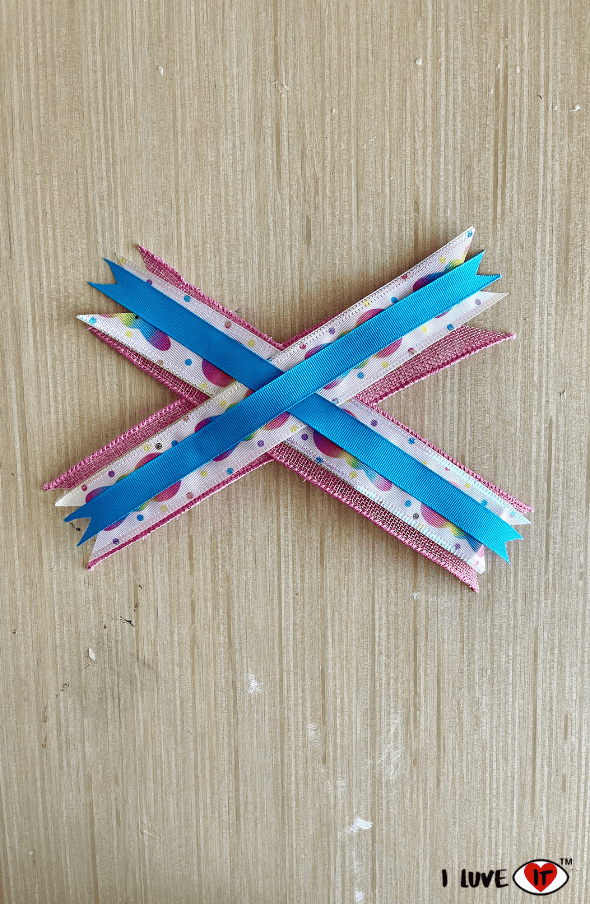
Making a bow is a must for this cute Easter wreath. To start, I measured each piece of ribbon at 10 inches. I cut 2 pieces of each ribbon – peep ribbon, blue ribbon, and pink burlap ribbon. For a fuller bow, cut 2 additional pieces of each ribbon.
Cut one piece of 5/8 inch blue ribbon as it will be used to wrap around the center. Now cut a dove tail on each piece of ribbon. Next take each piece of ribbon and criss cross them one over the other in the order you would like.
Pinch the ribbon in the middle and wrap it with a pipe cleaner. Take the 5/8 inch blue ribbon and hot glue it around the center to cover up the pipe cleaner. Trim your ribbon as needed. Attach the bow to the top left of the wood round with hot glue.

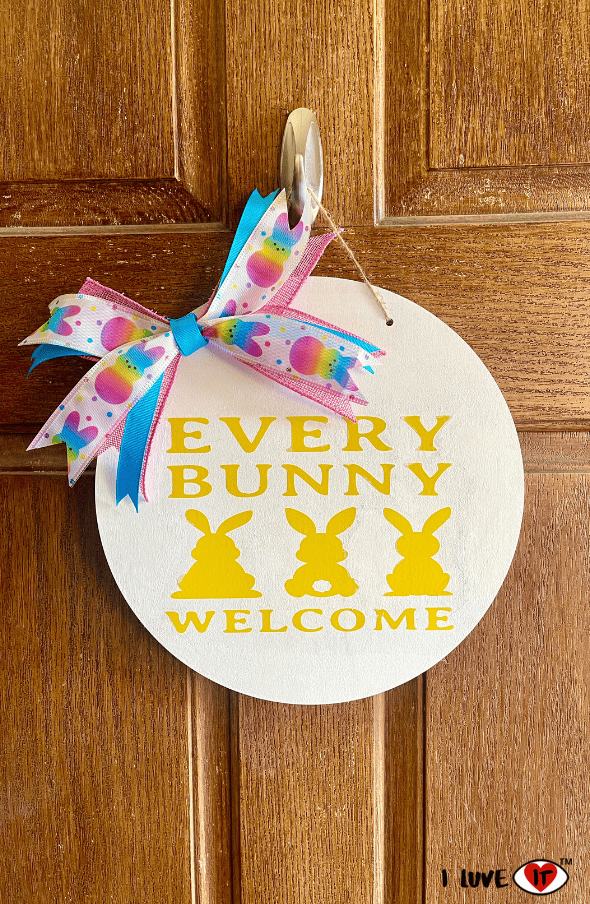
Hang Your DIY Easter Door Hanger
Reattach the twine and hang your cute and easy to make DIY Easter Wreath to the front door. You can also display it indoors with your Easter Decorations if you would like, make this to sell, or give it away as a gift.
As you put the finishing touches on your DIY Easter Door Hanger wreath, take a moment to admire your handiwork, and bask in the satisfaction of a job well done.
Now, proudly hang your creation for all to see, knowing that your creativity has transformed a simple wreath into a symbol of Easter magic.
Whether you’re welcoming guests, delighting a passersby, or simply enjoying the beauty of your handcrafted masterpiece, may it serve as a reminder of the joy found in both the act of creating and the spirit of the season.
I commend you on your crafting journey and wish you a happy and blessed Easter celebration. Until next time, keep crafting, keep creating, and keep spreading joy wherever you go. Happy Easter!