Get crafty this St. Patricks’s Day with this cute and funny Dollar Tree DIY I Pinch Back St. Patrick’s Day Wreath. Your guests will be so amused to see this as they walk on your front porch. Whether you are looking for an easy St. Patrick’s Day Craft to give as a gift, make to sell, or add to your St. Patrick’s Day decor, this is the perfect budget-friendly DIY project to create this Spring. Don’t forget to download your FREE ‘I Pinch Back’ SVG file.
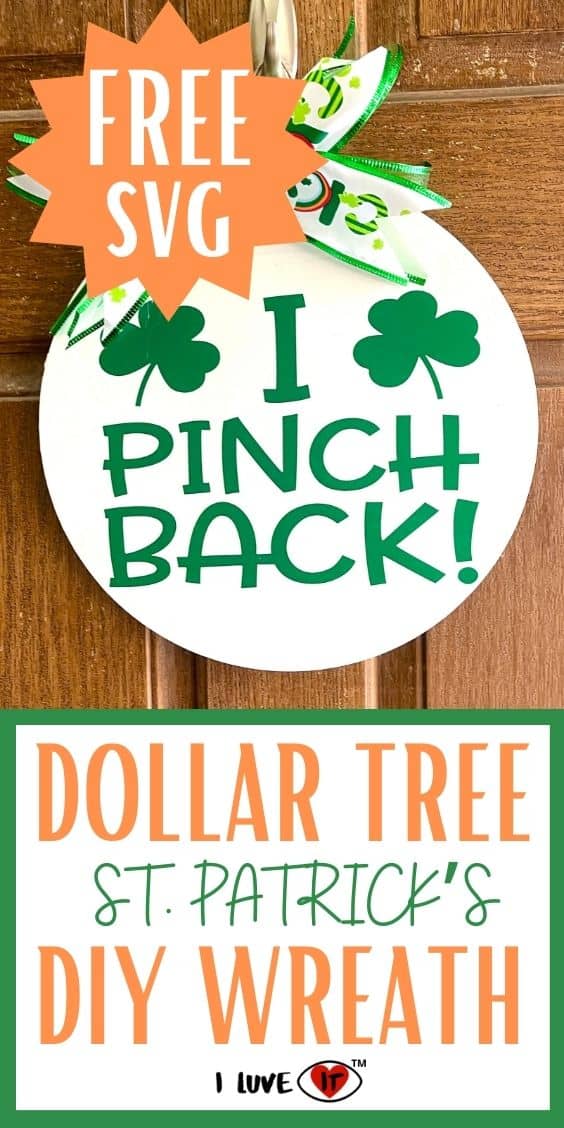
How To Make a I Pinch Back St. Patrick’s Day Wreath
Get ready to add a touch of humor to your St. Patrick’s Day celebrations with our adorable Dollar Tree DIY project. In today’s project, I’ll guide you through the creation of a Pinch Back St. Patrick’s Day Wreath that will not only brighten up your front porch, but also leave your guests amused and entertained.
This budget-friendly DIY project is perfect for those looking to infuse a bit of whimsy into their St. Patrick’s Day decor. Whether you’re planning to give it as a gift, sell your craft, or simply enhance your own festive ambiance, this wreath is sure to bring joy and laughter.
And here’s the best part – don’t forget to grab your FREE ‘I Pinch Back’ SVG file to make this crafting experience even more enjoyable. Let’s dive into the world of creativity and make this St. Patrick’s Day truly special!
YOU MAY ALSO LIKE:
Dollar Tree DIY St. Patricks Day Wreath
31 Must-See St Patrick’s Day Wreath Ideas For Front Door
Materials you’ll need:
- Cricut Machine
- Wood round 12″
- Cricut Mat
- Permanent Green Vinyl
- White Paint
- Lucky Ribbon
- Sheer Green Ribbon
- Paint Brush
- Vinyl Transfer Tape
- Hot glue and glue gun
Instructions:
Paint the Wood Round
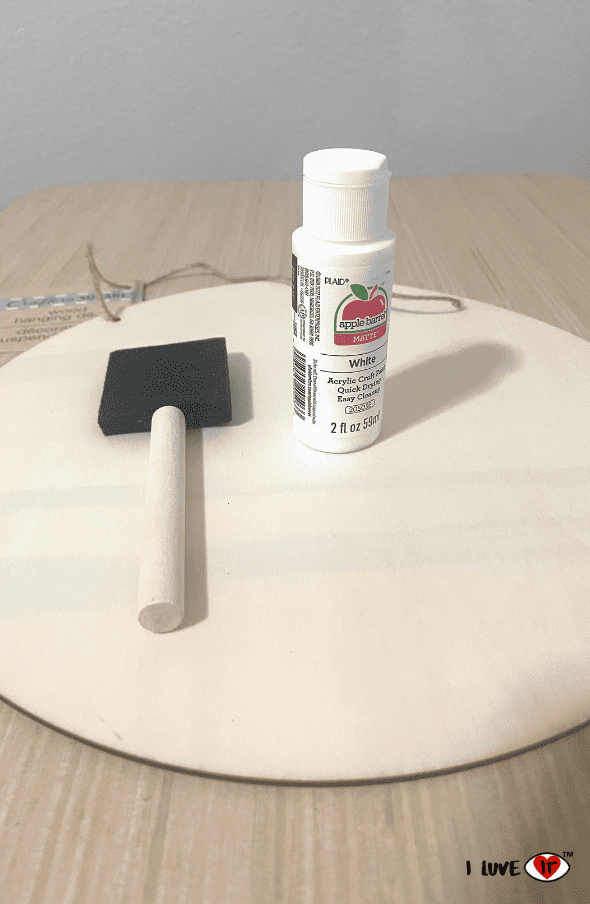
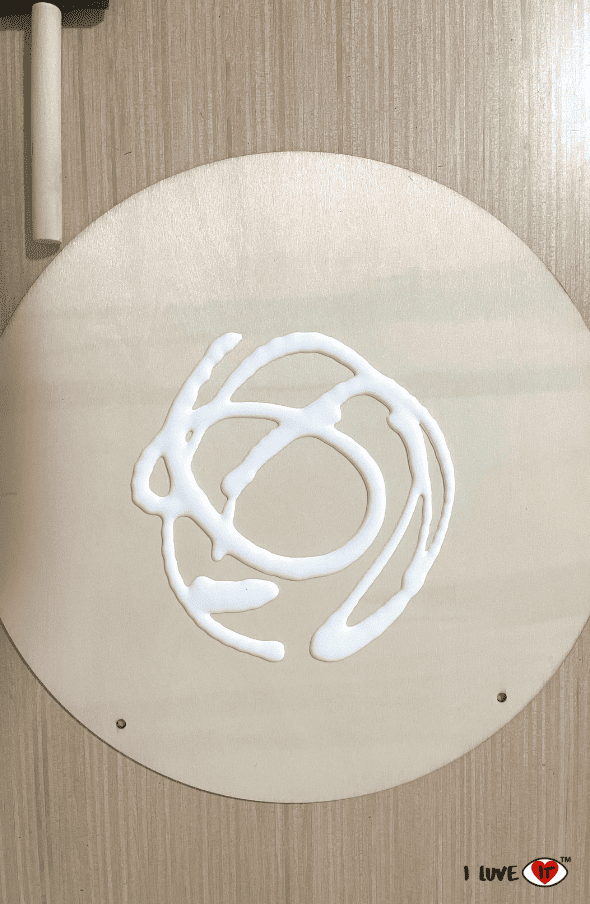
Remove the twine from the wood round and paint it with white paint. I used about 2 coats of paint, and then allow it dry.
Apply the Vinyl
Download the FREE SVG file here. Upload the file to Cricut Design Space. Use your Cricut machine to cut the permanent green vinyl, and then attach it to your wood round using transfer tape.

Make a Bow
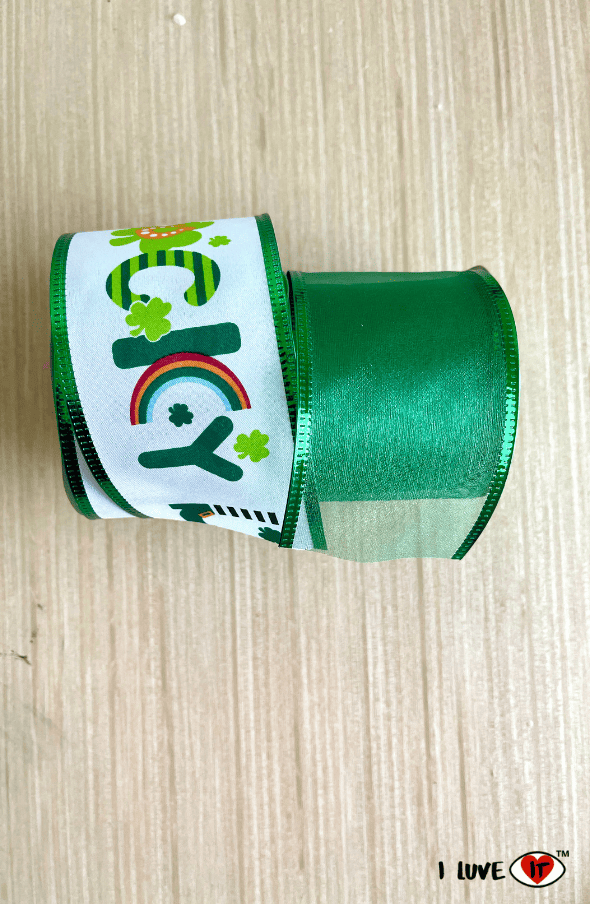
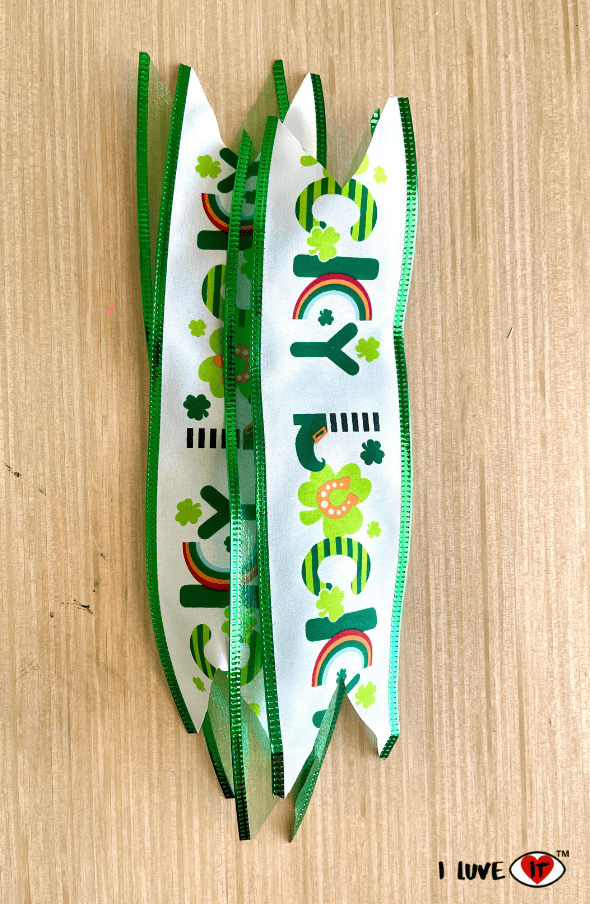
Making a bow is a must for this cute st. Patrick’s day wreath. To start, I measured each piece of ribbon at 10 inches. I cut 2 pieces of each ribbon – lucky ribbon and sheer green ribbon. For a fuller bow, cut 2 additional pieces of each ribbon with a total of 8 pieces of ribbon.
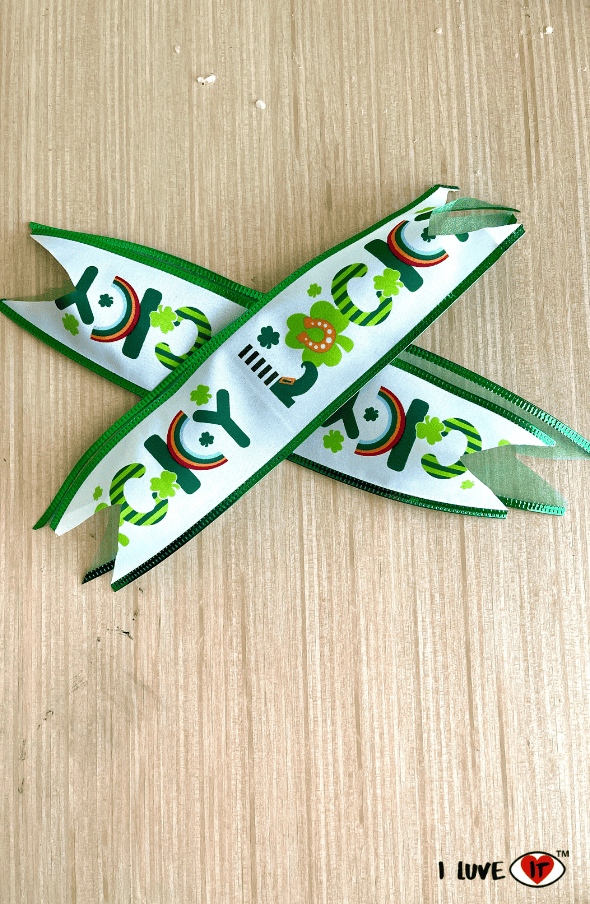
Cut one piece of 5/8 inch green ribbon as it will be used to wrap around the center. Now cut a dove tail on each piece of ribbon. Next take each piece of ribbon and criss cross them one over the other in the order you would like.
Pinch the ribbon in the middle and wrap it with a pipe cleaner. Take the 5/8 inch green ribbon and hot glue it around the center to cover up the pipe cleaner. Trim your ribbon as needed. Attach the bow to the left side of the wood round with hot glue.

Hang Your DIY St. Patrick’s Day Wreath
Reattach the twine and hang your cute and easy to make DIY I Pinch Back St. Patrick’s Day Wreath to the front door. You can also display it indoors with your St. Patrick’s Day Decorations if you would like, make this to sell, or give it away as a gift.
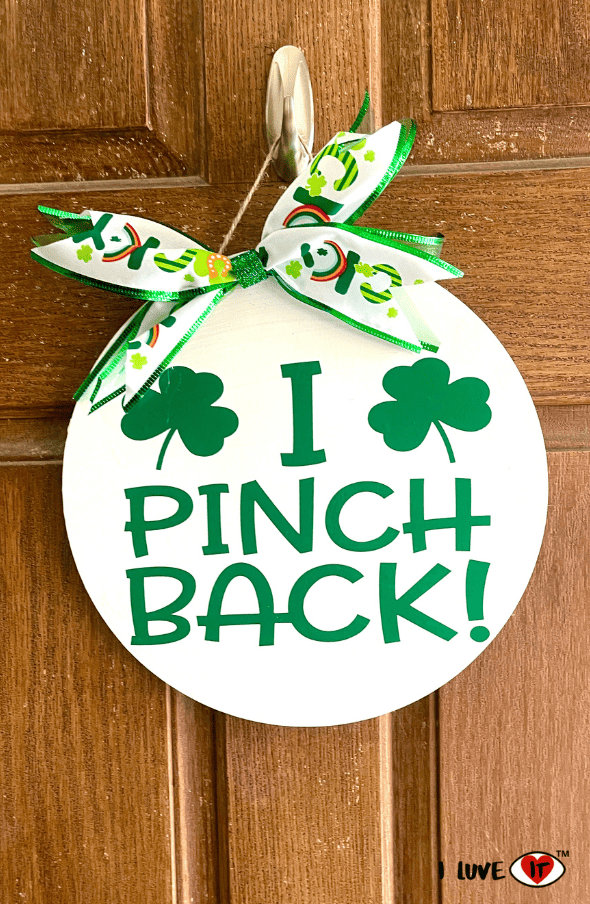
As you put the finishing touches on your Pinch Back St. Patrick’s Day Wreath, you’ve not only crafted an adorable piece of decor, but also decorated your surroundings with the joy of the season.
I hope this Dollar Tree DIY project has added a touch of whimsy to your celebrations, whether you plan to gift it, sell your creation, or simply enjoy it in your own home.
Remember, crafting is not just about creating beautiful things; it’s about the joy and satisfaction that comes with the process. As you proudly hang your wreath, take a moment to appreciate the creativity and effort you’ve put into making this St. Patrick’s Day special.
Thank you for joining me on this crafting adventure. May your celebrations be filled with laughter, warmth, and the unmistakable charm of your very own Pinch Back St. Patrick’s Day Wreath. Happy crafting and happy St. Patrick’s Day!
