Walk in a winter wonderland this Christmas with this Dollar Tree DIY Winter Wonderland Christmas Wreath. With just a few cheap materials, this easy to make door hanger is the perfect outdoor Christmas decor for your front door. Don’t forget to download your FREE ‘Walking in a Winter Wonderland’ Christmas SVG file.

How To Make a Winter Wonderland Christmas Wreath
As winter’s embrace draws near, what better way to usher in the festive spirit than by creating your very own Dollar Tree DIY Winter Wonderland Christmas Wreath?
This DIY project invites you to embark on a journey of imagination and resourcefulness as we transform humble Dollar Tree supplies into a breathtaking Winter Wonderland Christmas Wreath.
In this enchanting endeavor, we’ll explore the art of crafting seasonal beauty without breaking the bank, proving that a touch of holiday charm can be accessible to all.
Gather your materials, unleash your inner artist, and join me in crafting a wreath that not only decorates your door, but also radiates the joy and wonder of the winter season.
Get ready to infuse your space with the spirit of the season as we embark on this delightful DIY adventure – because a magical Christmas doesn’t have to come with a hefty price tag!
YOU MAY ALSO LIKE:
Dollar Tree DIY Buffalo Plaid DIY Winter Wreath
Dollar Tree Navy Blue and Gold DIY Christmas Wreath
Materials you’ll need:
- Cricut Machine
- Wood round 12″
- Cricut Mat
- White Permanent Vinyl
- Blue Bonnet Paint
- Glitter Silver Ribbon
- Silver Mesh Ribbon
- Burlap and Blue Snowflake Ribbon
- Paint Brush
- Pipe cleaner
- Vinyl Transfer Tape
- Hot glue and glue gun
Instructions:
Paint the Wood Round
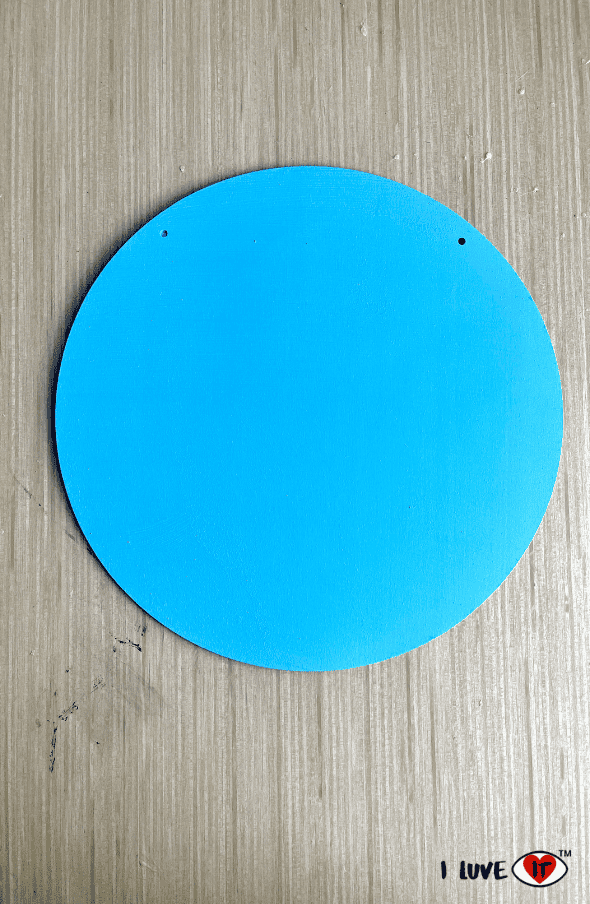
Remove the twine from the wood round and paint it with apple barrel blue bonnet paint. I used about 2 coats of paint, and then allow it dry.
Apply the Vinyl
Download the FREE ‘Walking in a Winter Wonderland’ SVG file here. Upload the file to Cricut Design Space. Use your Cricut machine to cut the permanent white vinyl, and then attach it to your wood round using transfer tape.
Make a Bow
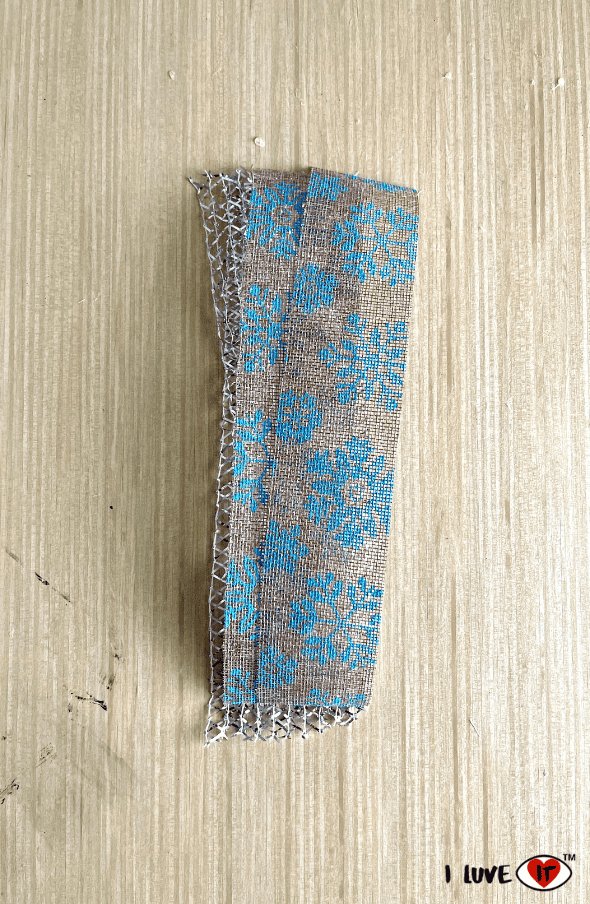
Making a bow is a must for this gorgeous Winter Wreath. To start, I measured each piece of ribbon at 10 inches. I cut 2 pieces of each ribbon – burlap/snowflake ribbon and silver mesh ribbon. Cut one piece of glitter silver ribbon as it will be used to wrap around the center.
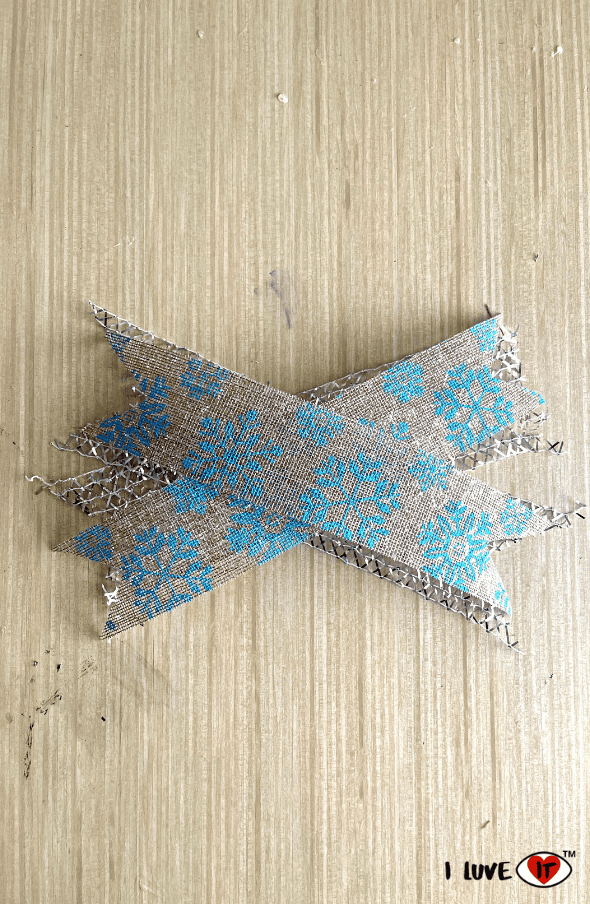
Now cut a dove tail on each piece of ribbon. Next take each piece of ribbon and criss cross them one over the other in the order you would like.
Pinch the ribbon in the middle and wrap it with a white pipe cleaner. Take your glitter silver ribbon and hot glue it around the center to cover up the pipe cleaner. Trim your ribbon as needed. Attach the bow to the top center of the wood round with hot glue.


Hang Your Winter Wonderland Wreath
Reattach the twine and hang your beautiful and easy to make DIY Winter Wreath to the front door. You can also display it indoors with your After-Christmas Winter Decorations if you would like, make this to sell, or give it away as a Christmas gift.

As we put the finishing touches on our Dollar Tree DIY Winter Wonderland Christmas Wreath, we’ve not only created a beautiful decoration, but also woven the spirit of the season into every detail.
This crafting journey has shown us that with a bit of creativity and resourcefulness, a captivating holiday centerpiece is within reach for everyone.
As you hang your newly crafted wreath, may it serve as a daily reminder of the joy that can be found in the simple pleasures of crafting, and the magic that can be brought to life with a touch of imagination.
The beauty of a Winter Wonderland Christmas Wreath lies not only in its visual appeal, but also in the memories and stories it will carry throughout the holiday season.
Whether you share this creation with loved ones, gift it to a friend, or let it adorn your own door, know that you’ve not only made a festive decoration but also embraced the spirit of giving and creativity.
Cheers to a season filled with warmth, wonder, and the joy of crafting your own winter magic!
