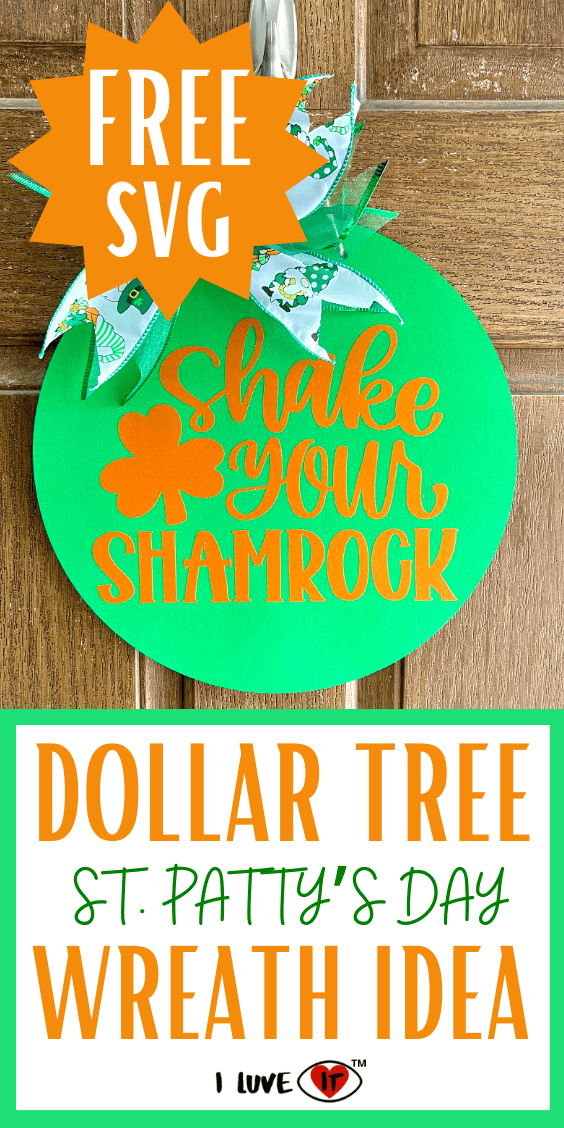
Get ready to Shake Your Shamrock this year with this Cheap and Easy Dollar Tree DIY St. Patrick’s Day Wreath. Decorating for the holidays does not have to be expensive. Your local Dollar Store has all the supplies you need to create an amazing DIY wreath for your front door. Don’t forget to download your FREE ‘Shake Your Shamrock’ SVG File.
Cheap and Easy Dollar Tree DIY St. Patrick’s Day Wreath
Step into the world of festive creativity and budget-friendly crafting as we embark on a delightful journey to create the perfect St. Patrick’s Day atmosphere. This year, I’m shaking things up by bringing you an easy and affordable DIY project – the Dollar Tree St. Patrick’s Day Wreath.
Why spend a fortune on decorations when your local Dollar Store has everything you need to craft a stunning wreath for your front door?
Embrace the spirit of St. Patrick’s Day without worrying about your budget. Whether you’re a seasoned crafter or a DIY enthusiast, this project is designed to be both accessible and enjoyable.
But the excitement doesn’t end there – I’ve got a special treat for you. Download your FREE ‘Shake Your Shamrock’ SVG File to add a playful and personalized touch to your creation!
YOU MAY ALSO LIKE:
22 Easy To Make DIY St Patricks Day Crafts for Adults
31 Must-See St Patrick’s Day Wreath Ideas For Front Door
Materials you’ll need:
- Cricut Machine
- Wood round 12″
- Cricut Mat
- Permanent Orange Vinyl
- Apple Barrel – New Shamrock Green Paint
- Gnome Ribbon
- Sheer Green Ribbon
- Paint Brush
- Vinyl Transfer Tape
- Hot glue and glue gun
Instructions:
Paint the Wood Round
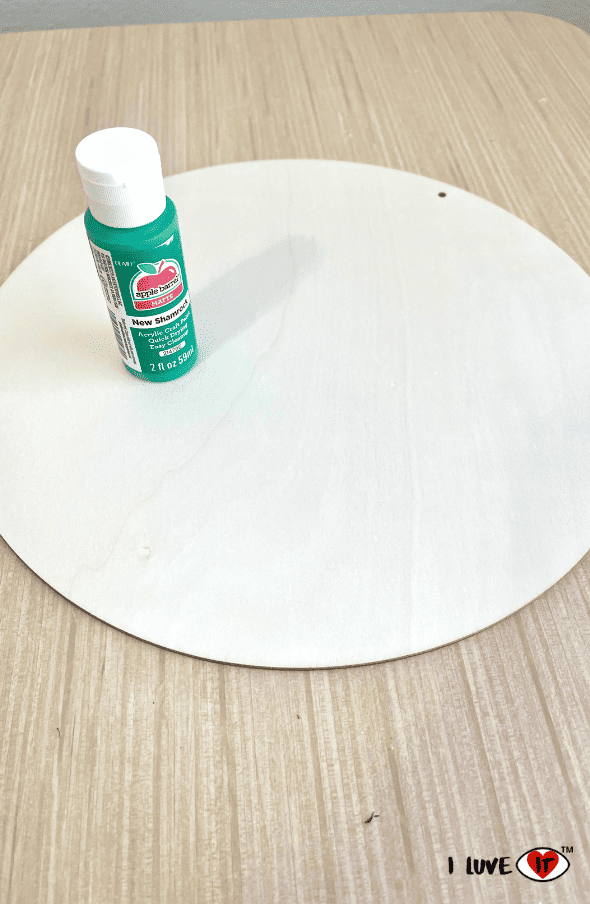
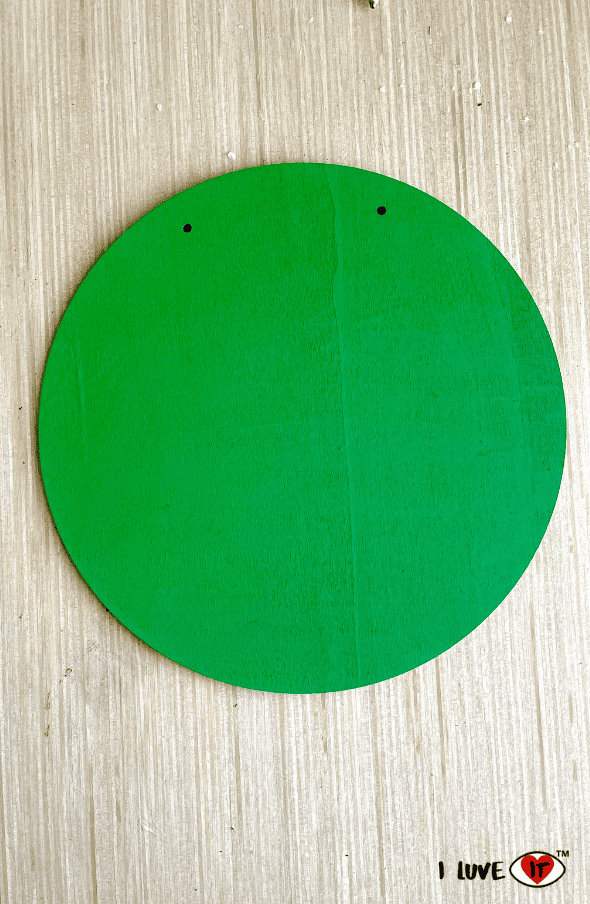
Remove the twine from the wood round and paint it with new shamrock green paint. I used about 2 coats of paint, and then allow it dry.

Apply the Vinyl
Download the FREE SVG file here. Upload the file to Cricut Design Space. Use your Cricut machine to cut the permanent orange vinyl, and then attach it to your wood round using transfer tape.

Make a Bow
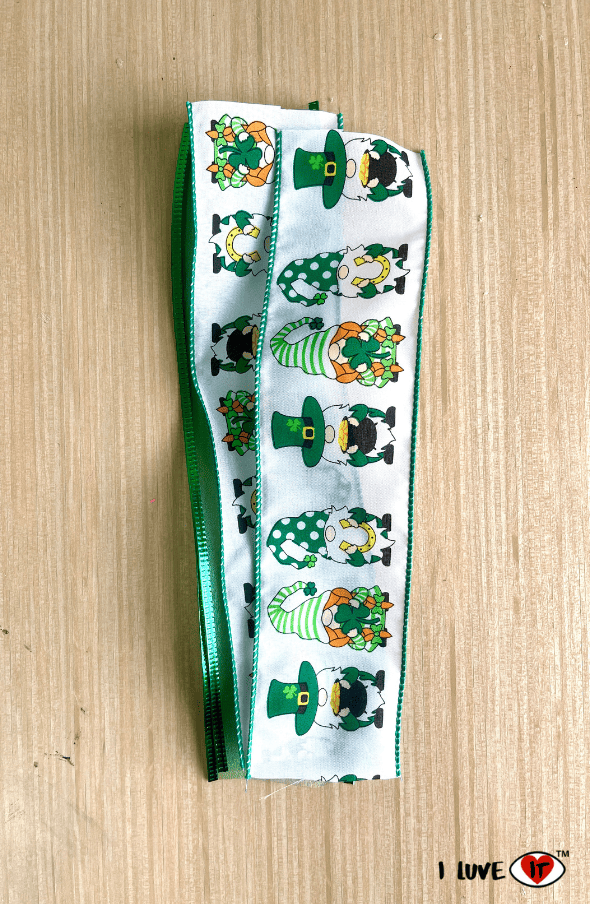
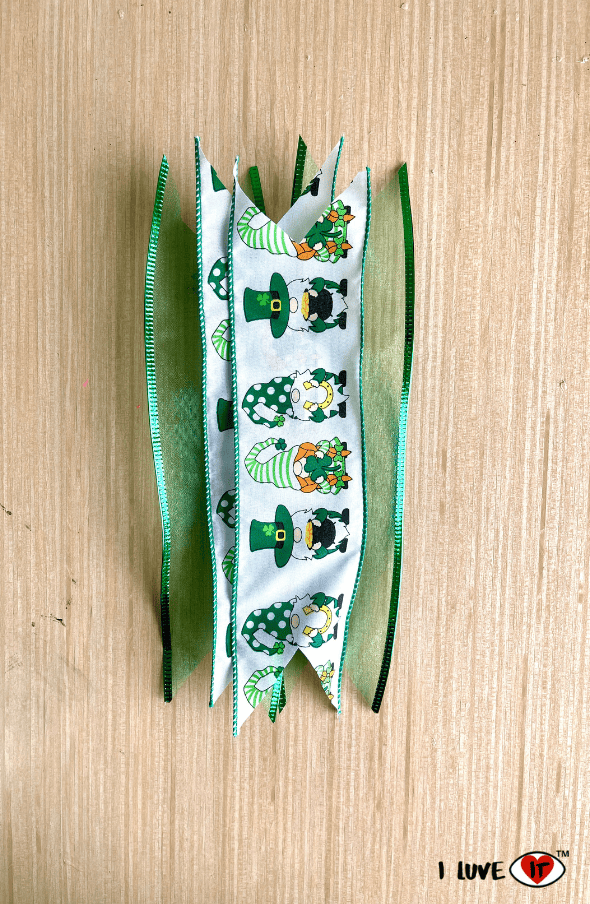
Making a bow is a must for this cute st. Patrick’s day wreath. To start, I measured each piece of ribbon at 10 inches. I cut 2 pieces of each ribbon – gnome ribbon and sheer green ribbon. For a fuller bow, cut 2 additional pieces of each ribbon with a total of 8 pieces of ribbon.
Cut one piece of 5/8 inch green ribbon as it will be used to wrap around the center. Now cut a dove tail on each piece of ribbon. Next take each piece of ribbon and criss cross them one over the other in the order you would like.
Pinch the ribbon in the middle and wrap it with a pipe cleaner. Take the 5/8 inch green and hot glue it around the center to cover up the pipe cleaner. Trim your ribbon as needed.
Hang Your DIY St. Patrick’s Day Wreath
Attach the bow to the top left side of the wood round with hot glue. Reattach the twine and hang your cute and easy to make DIY St. Patrick’s Day Wreath to the front door. You can also display it indoors with your St. Patrick’s Day Decorations if you would like, make this to sell, or give it away as a gift.
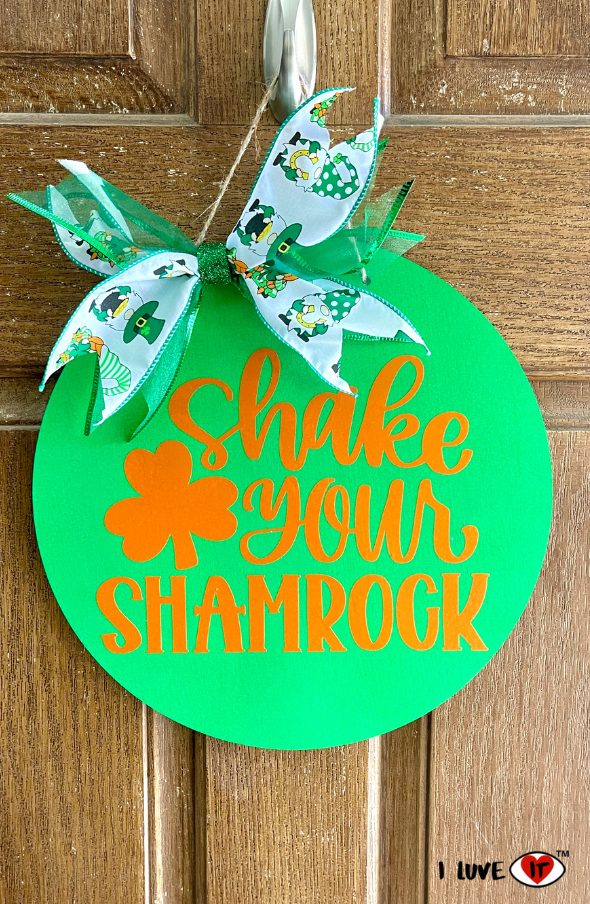
Remember, celebrating holidays doesn’t have to be a costly affair. With a bit of imagination and a trip to your local Dollar Tree, you can create stunning decorations that rival those from high-end stores. The satisfaction of crafting something beautiful with your own hands is truly incomparable.
We encourage you to share your DIY St. Patrick’s Day wreath with friends and family, spreading the joy of budget-friendly creativity. Don’t forget to proudly display your ‘Shake Your Shamrock’ creation and let the festivities begin!
Thank you for joining me on this crafting escapade. May your St. Patrick’s Day be filled with joy, laughter, and the luck of the Irish. Happy crafting!
